karpenter-blueprints : Karpenter와 Kubernetes 오브젝트 구성의 중요성을 설명하는 일반적인 워크로드 시나리오 목록.
주의사항 (Terraform Caveats)
EKS Blueprints for Terraform은 Terraform의 권장 사례나 프로젝트 구조 지침을 제공하지 않습니다.
대부분의 사용자가 기존 VPC를 갖고 있지만, 제공된 패턴은 안정적인 배포 예시를 위해 새 VPC와 함께 제공됩니다.
Hashicorp는 provider 블록에서 계산된 값을 제공하는 것을 권장하지 않지만, 패턴 경험을 단순화하기 위해 모든 것을 하나의 작업 공간에서 정의하고 타겟 적용 접근법을 제공합니다.
패턴은 모듈과 같은 방식으로 사용되도록 설계되지 않았으며, 사용자가 로컬에서 수정하여 사용하도록 의도되었습니다.
[실습] Karpenter on EKS Fargate
이 패턴은 Fargate 프로파일을 사용하여 서버리스 클러스터(서버리스 데이터 플레인)에서 Karpenter를 프로비저닝하는 방법을 시연합니다.
사전 준비 : awscli (IAM '관리자 수준' 자격증명 필요), terraform, kubectl, helm
aws --version
terraform --version
kubectl version --client=true
helm -h
코드 준비
git clone https://github.com/aws-ia/terraform-aws-eks-blueprints
cd terraform-aws-eks-blueprints/patterns/karpenter
tree
versions.tf
terraform {
  required_version = ">= 1.3"

  required_providers {
    aws = {
      source  = "hashicorp/aws"
      version = ">= 5.34"
    }
    helm = {
      source  = "hashicorp/helm"
      version = ">= 2.9"
    }
    kubernetes = {
      source  = "hashicorp/kubernetes"
      version = ">= 2.20"
    }
  }

  # ##  Used for end-to-end testing on project; update to suit your needs
  # backend "s3" {
  #   bucket = "terraform-ssp-github-actions-state"
  #   region = "us-west-2"
  #   key    = "e2e/karpenter/terraform.tfstate"
  # }
}
main.tf : local 블록 수정
provider "aws" {
  region = local.region
}

# Required for public ECR where Karpenter artifacts are hosted
provider "aws" {
  region = "us-east-1"
  alias  = "virginia"
}

provider "kubernetes" {
  host                   = module.eks.cluster_endpoint
  cluster_ca_certificate = base64decode(module.eks.cluster_certificate_authority_data)

  exec {
    api_version = "client.authentication.k8s.io/v1beta1"
    command     = "aws"
    # This requires the awscli to be installed locally where Terraform is executed
    args = ["eks", "get-token", "--cluster-name", module.eks.cluster_name]
  }
}

provider "helm" {
  kubernetes {
    host                   = module.eks.cluster_endpoint
    cluster_ca_certificate = base64decode(module.eks.cluster_certificate_authority_data)

    exec {
      api_version = "client.authentication.k8s.io/v1beta1"
      command     = "aws"
      # This requires the awscli to be installed locally where Terraform is executed
      args = ["eks", "get-token", "--cluster-name", module.eks.cluster_name]
    }
  }
}

data "aws_ecrpublic_authorization_token" "token" {
  provider = aws.virginia
}

data "aws_availability_zones" "available" {}

# 이 부분을 수정
locals {
  # name 변경
  name   = "t101-${basename(path.cwd)}"
  # region 변경
  region = "ap-northeast-2"

  # vpc_cidr 변경
  vpc_cidr = "10.10.0.0/16"
  azs      = slice(data.aws_availability_zones.available.names, 0, 3)

  tags = {
    Blueprint  = local.name
    GithubRepo = "github.com/aws-ia/terraform-aws-eks-blueprints"
  }
}

################################################################################
# Cluster
################################################################################

module "eks" {
  source  = "terraform-aws-modules/eks/aws"
  version = "~> 20.11"

  cluster_name                   = local.name
  cluster_version                = "1.30"
  cluster_endpoint_public_access = true

  vpc_id     = module.vpc.vpc_id
  subnet_ids = module.vpc.private_subnets

  # Fargate profiles use the cluster primary security group so these are not utilized
  create_cluster_security_group = false
  create_node_security_group    = false

  enable_cluster_creator_admin_permissions = true

  fargate_profiles = {
    karpenter = {
      selectors = [
        { namespace = "karpenter" }
      ]
    }
    kube_system = {
      name = "kube-system"
      selectors = [
        { namespace = "kube-system" }
      ]
    }
  }

  tags = merge(local.tags, {
    # NOTE - if creating multiple security groups with this module, only tag the
    # security group that Karpenter should utilize with the following tag
    # (i.e. - at most, only one security group should have this tag in your account)
    "karpenter.sh/discovery" = local.name
  })
}

################################################################################
# EKS Blueprints Addons
################################################################################

module "eks_blueprints_addons" {
  source  = "aws-ia/eks-blueprints-addons/aws"
  version = "~> 1.16"

  cluster_name      = module.eks.cluster_name
  cluster_endpoint  = module.eks.cluster_endpoint
  cluster_version   = module.eks.cluster_version
  oidc_provider_arn = module.eks.oidc_provider_arn

  # We want to wait for the Fargate profiles to be deployed first
  create_delay_dependencies = [for prof in module.eks.fargate_profiles : prof.fargate_profile_arn]

  eks_addons = {
    coredns = {
      configuration_values = jsonencode({
        computeType = "Fargate"
        # Ensure that the we fully utilize the minimum amount of resources that are supplied by
        # Fargate https://docs.aws.amazon.com/eks/latest/userguide/fargate-pod-configuration.html
        # Fargate adds 256 MB to each pod's memory reservation for the required Kubernetes
        # components (kubelet, kube-proxy, and containerd). Fargate rounds up to the following
        # compute configuration that most closely matches the sum of vCPU and memory requests in
        # order to ensure pods always have the resources that they need to run.
        resources = {
          limits = {
            cpu = "0.25"
            # We are targeting the smallest Task size of 512Mb, so we subtract 256Mb from the
            # request/limit to ensure we can fit within that task
            memory = "256M"
          }
          requests = {
            cpu = "0.25"
            # We are targeting the smallest Task size of 512Mb, so we subtract 256Mb from the
            # request/limit to ensure we can fit within that task
            memory = "256M"
          }
        }
      })
    }
    vpc-cni    = {}
    kube-proxy = {}
  }

  enable_karpenter = true

  karpenter = {
    repository_username = data.aws_ecrpublic_authorization_token.token.user_name
    repository_password = data.aws_ecrpublic_authorization_token.token.password
  }

  karpenter_node = {
    # Use static name so that it matches what is defined in `karpenter.yaml` example manifest
    iam_role_use_name_prefix = false
  }

  tags = local.tags
}

resource "aws_eks_access_entry" "karpenter_node_access_entry" {
  cluster_name      = module.eks.cluster_name
  principal_arn     = module.eks_blueprints_addons.karpenter.node_iam_role_arn
  kubernetes_groups = []
  type              = "EC2_LINUX"
}

################################################################################
# Supporting Resources
################################################################################

module "vpc" {
  source  = "terraform-aws-modules/vpc/aws"
  version = "~> 5.0"

  name = local.name
  cidr = local.vpc_cidr

  azs             = local.azs
  private_subnets = [for k, v in local.azs : cidrsubnet(local.vpc_cidr, 4, k)]
  public_subnets  = [for k, v in local.azs : cidrsubnet(local.vpc_cidr, 8, k + 48)]

  enable_nat_gateway = true
  single_nat_gateway = true

  public_subnet_tags = {
    "kubernetes.io/role/elb" = 1
  }

  private_subnet_tags = {
    "kubernetes.io/role/internal-elb" = 1
    # Tags subnets for Karpenter auto-discovery
    "karpenter.sh/discovery" = local.name
  }

  tags = local.tags
}
outputs.tf
output "configure_kubectl" {
  description = "Configure kubectl: make sure you're logged in with the correct AWS profile and run the following command to update your kubeconfig"
  value       = "aws eks --region ${local.region} update-kubeconfig --name ${module.eks.cluster_name}"
}
초기화
# Terraform을 초기화
terraform init
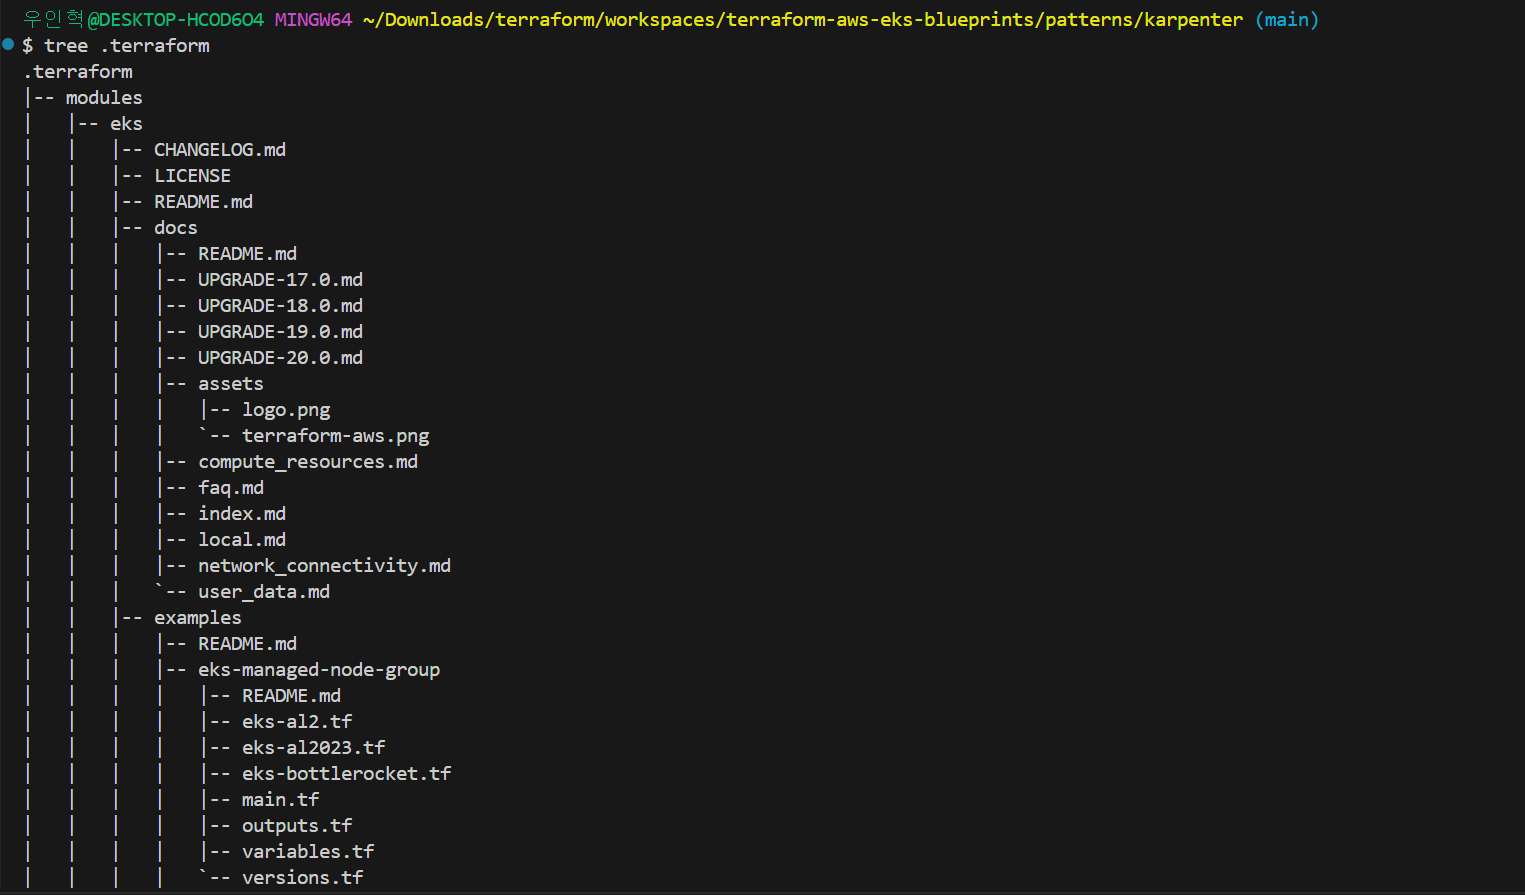
# 초기화 후 .terraform 디렉토리 구조 확인
tree .terraform
# 모듈 JSON 파일 내용 확인
cat .terraform/modules/modules.json | jq
프로바이더 디렉토리 구조 확인
tree .terraform/providers/registry.terraform.io/hashicorp -L 2
VPC 배포
# Default VPC를 제외한 VPC 정보 확인
aws ec2 describe-vpcs --filter 'Name=isDefault,Values=false' --output yaml

# vpc 배포 : 3분 소요
terraform apply -target="module.vpc" -auto-approve

# 배포된 리소스 확인
terraform state list
terraform show

# Default VPC를 제외한 VPC 정보 확인
aws ec2 describe-vpcs --filter 'Name=isDefault,Values=false' --output yaml

# 가용 영역 정보 확인
echo "data.aws_availability_zones.available" | terraform console

# VPC 모듈의 상태를 확인
terraform state show 'module.vpc.aws_vpc.this[0]'

# VPC ID를 저장하고 서브넷 정보 확인
VPCID=<각자 자신의 VPC ID>
aws ec2 describe-subnets --filters "Name=vpc-id,Values=$VPCID" | jq
aws ec2 describe-subnets --filters "Name=vpc-id,Values=$VPCID" --output text

# public 서브넷과 private 서브넷 CIDR 확인
## private_subnets = [for k, v in local.azs : cidrsubnet(local.vpc_cidr, 4, k)]
## public_subnets  = [for k, v in local.azs : cidrsubnet(local.vpc_cidr, 8, k + 48)]
terraform state show 'module.vpc.aws_subnet.public[0]'
terraform state show 'module.vpc.aws_subnet.private[0]'
EKS 배포
# EKS 배포 : 13분 소요
terraform apply -target="module.eks" -auto-approve

# 리소스 상태 확인
terraform state list
terraform output

# EKS 자격증명
## aws eks --region <REGION> update-kubeconfig --name <CLUSTER_NAME> --alias <CLUSTER_NAME>
aws eks --region ap-northeast-2 update-kubeconfig --name t101-karpenter
cat ~/.kube/config

# (참고) context name 변경
kubectl config rename-context "arn:aws:eks:ap-northeast-2:$(aws sts get-caller-identity --query 'Account' --output text):cluster/t101-karpenter" "T101-Lab"

#클러스터 정보 및 노드와 파드의 상태 확인
kubectl cluster-info
kubectl get node
kubectl get pod -A

# 상세 정보 확인
terraform show
terraform state list
terraform state show 'module.eks.data.aws_caller_identity.current'
terraform state show 'module.eks.data.aws_iam_session_context.current'
terraform state show 'module.eks.aws_eks_cluster.this[0]'
terraform state show 'module.eks.data.tls_certificate.this[0]'
terraform state show 'module.eks.aws_cloudwatch_log_group.this[0]'
terraform state show 'module.eks.aws_eks_access_entry.this["cluster_creator"]'
terraform state show 'module.eks.aws_iam_openid_connect_provider.oidc_provider[0]'
terraform state show 'module.eks.data.aws_partition.current'
terraform state show 'module.eks.aws_iam_policy.cluster_encryption[0]'
terraform state show 'module.eks.aws_iam_role.this[0]'
terraform state show 'module.eks.time_sleep.this[0]'
terraform state show 'module.eks.module.kms.aws_kms_key.this[0]'
terraform state show 'module.eks.module.fargate_profile["kube_system"].aws_eks_fargate_profile.this[0]'
terraform state show 'module.eks.module.fargate_profile["karpenter"].aws_eks_fargate_profile.this[0]'
Amazon EKS와 Fargate 소개
Amazon EKS(Elastic Kubernetes Service)와 Fargate를 결합하면 완전한 서버리스 환경을 구축할 수 있습니다. 이는 컨트롤 플레인과 데이터 플레인 모두를 AWS가 관리함을 의미합니다.
Cluster Autoscaler 불필요: Fargate를 사용하면 클러스터 오토스케일러를 사용할 필요가 없습니다. AWS가 자동으로 필요한 리소스를 할당합니다.
VM 수준의 격리 가능: 각 파드(Pod)는 VM 수준의 격리를 통해 보안성이 강화됩니다.
# 배포 : 2분 소요
terraform apply -auto-approve

# 리소스 상태 확인
terraform state list
terraform show

# 클러스터, 노드, 파드 정보 확인
kubectl cluster-info
kubectl get nodes -L node.kubernetes.io/instance-type -L topology.kubernetes.io/zone
kubectl get node -owide
kubectl get pod -A

# Helm 차트 확인
helm list -n karpenter

# SQS queue and EventBridge event rules for Karpenter to utilize for spot termination handling, capacity re-balancing, etc.
## https://jerryljh.tistory.com/132 , https://aws.github.io/aws-eks-best-practices/karpenter/
# Helm 차트 값 확인
helm get values -n karpenter karpenter

# 시크릿 확인 : kms로 암호 처리됨 - Encrypt Kubernetes secrets with AWS KMS on existing clusters
## Symmetric, Can encrypt and decrypt data , Created in the same AWS Region as the cluster
## Warning - 활성화 이후 비활성화 불가 You can't disable secrets encryption after enabling it. This action is irreversible.
kubectl get secret -n karpenter
kubectl get secret -n karpenter sh.helm.release.v1.karpenter.v1 -o json | jq

# 상세 정보 확인
terraform state list
terraform state show 'data.aws_ecrpublic_authorization_token.token'
terraform state show 'aws_eks_access_entry.karpenter_node_access_entry'
terraform state show 'module.eks_blueprints_addons.data.aws_caller_identity.current'
terraform state show 'module.eks_blueprints_addons.data.aws_eks_addon_version.this["coredns"]'
terraform state show 'module.eks_blueprints_addons.aws_cloudwatch_event_rule.karpenter["health_event"]'
terraform state show 'module.eks_blueprints_addons.aws_cloudwatch_event_target.karpenter["health_event"]'
terraform state show 'module.eks_blueprints_addons.aws_eks_addon.this["coredns"]'
terraform state show 'module.eks_blueprints_addons.aws_iam_role.karpenter[0]'
terraform state show 'module.eks_blueprints_addons.aws_iam_instance_profile.karpenter[0]'
terraform state show 'module.eks_blueprints_addons.module.karpenter.data.aws_iam_policy_document.this[0]'
terraform state show 'module.eks_blueprints_addons.module.karpenter.data.aws_iam_policy_document.assume[0]'
terraform state show 'module.eks_blueprints_addons.module.karpenter.aws_iam_policy.this[0]'
terraform state show 'module.eks_blueprints_addons.module.karpenter.helm_release.this[0]'
terraform state show 'module.eks_blueprints_addons.module.karpenter_sqs.aws_sqs_queue.this[0]'
terraform state show 'module.eks_blueprints_addons.module.karpenter_sqs.aws_sqs_queue_policy.this[0]'
eks-node-viewer 설치 및 사용 방법
eks-node-viewer는 Kubernetes 노드의 할당 가능 용량과 스케줄링된 파드의 리소스 요청(request)을 시각화하는 도구입니다. 실제 파드 리소스 사용량을 표시하지는 않습니다.
# macOS
brew tap aws/tap
brew install eks-node-viewer

# Windows/Linux Manual
## go 설치
go version
## EKS Node Viewer 설치 : 약 2분 이상 소요
go install github.com/awslabs/eks-node-viewer/cmd/eks-node-viewer@latest
사용 방법
# Display both CPU and Memory Usage*
eks-node-viewer --resources cpu,memory

# Standard usage
eks-node-viewer

# Karpenter nodes only
eks-node-viewer --node-selector karpenter.sh/nodepool

# Display extra labels, i.e. AZ
eks-node-viewer --extra-labels topology.kubernetes.io/zone

# Sort by CPU usage in descending order
eks-node-viewer --node-sort=eks-node-viewer/node-cpu-usage=dsc

# Specify a particular AWS profile and region
AWS_PROFILE=myprofile AWS_REGION=us-west-2
kube-ops-view 설치 및 설정
kube-ops-view는 Kubernetes 클러스터의 노드 및 파드 상태 정보를 실시간으로 웹 페이지에서 시각화하는 도구입니다.
# Helm을 사용한 kube-ops-view 설치
helm repo add geek-cookbook https://geek-cookbook.github.io/charts/
helm install kube-ops-view geek-cookbook/kube-ops-view --version 1.2.2 --set env.TZ="Asia/Seoul" --namespace kube-system

# 포트 포워딩 설정
kubectl port-forward deployment/kube-ops-view -n kube-system 8080:8080 &

# 접속 주소 확인 : 각각 1배, 1.5배, 3배 크기
echo -e "KUBE-OPS-VIEW URL = http://localhost:8080"
echo -e "KUBE-OPS-VIEW URL = http://localhost:8080/#scale=1.5"
echo -e "KUBE-OPS-VIEW URL = http://localhost:8080/#scale=3"
Karpenter는 AWS EC2 Fleet Instance API를 호출하여 스팟 인스턴스를 시작하며, 이는 시작된 인스턴스 목록과 시작할 수 없는 인스턴스 목록을 즉시 반환합니다. 시작할 수 없는 경우 Karpenter는 대체 용량을 요청하거나 워크로드에 대한 soft 일정 제약 조건을 제거할 수 있습니다.
# Provision the Karpenter EC2NodeClass and NodePool resources which provide Karpenter the necessary configurations to provision EC2 resources:
kubectl apply -f karpenter.yaml

# Karpenter 리소스가 제대로 생성되었는지 확인
kubectl get ec2nodeclass,nodepool

# Once the Karpenter resources are in place, Karpenter will provision the necessary EC2 resources to satisfy any pending pods in the scheduler's queue. You can demonstrate this with the example deployment provided.
# First deploy the example deployment which has the initial number replicas set to 0:
kubectl apply -f example.yaml

# Deployment가 생성되었는지 확인
kubectl get deploy


# karpenter 컨트롤러 로그 확인
kubectl logs -f -n karpenter -l app.kubernetes.io/name=karpenter -c controller

# When you scale the example deployment, you should see Karpenter respond by quickly provisioning EC2 resources to satisfy those pending pod requests:
kubectl scale deployment inflate --replicas=3 && kubectl get pod -w
# 노드 상태 확인
kubectl get nodes -L karpenter.sh/nodepool -L node.kubernetes.io/instance-type -L topology.kubernetes.io/zone -L karpenter.sh/capacity-type

# NodeClaims 상태 확인
kubectl get nodeclaims
kubectl get nodeclaims -o yaml | kubectl neat

# deploy 삭제 >> 노드 변화 확인 해보기!
kubectl delete -f example.yaml

# karpenter 정책 삭제
kubectl apply -f karpenter.yaml
삭제
# kube-ops-view 삭제
helm uninstall kube-ops-view -n kube-system

# addon & karpenter helm 삭제 : 1분 소요
terraform destroy -target="module.eks_blueprints_addons" -auto-approve

# EKS 삭제 : 8분 소요
terraform destroy -target="module.eks" -auto-approve

# VPC 삭제 : vpc 삭제가 잘 안될 경우 aws 콘솔에서 vpc 수동 삭제 -> vnic 등 남아 있을 경우 해당 vnic 강제 삭제
terraform destroy -auto-approve

# VPC 삭제 확인
aws ec2 describe-vpcs --filter 'Name=isDefault,Values=false' --output yaml

# kubeconfig 삭제
rm -rf ~/.kube/config